프론트엔드 개발환경 실습 답안
by Gongdel
Lab 1. 웹팩 엔트리/아웃풋 실습: 1-webpack/1-entry
1. Lab1 브런치로 이동하기
- /lecture-frontend-dev-env
❯ git checkout -f 1-webpack/1-entry
2. 프로젝트 초기화 및 package.josn 파일 생성
- /lecture-frontend-dev-env
❯ npm init -y
3. webpack, webpack-cli 패키지 설치
- /lecture-frontend-dev-env
❯ npm install -D webpack webpack-cli
4. webpack.config.js 생성 후, 설정
- /lecture-frontend-dev-env/webpack.config.js
  const path = require('path');

  module.exports = {
    mode: 'development',
    entry: {
      main: './src/app.js'
    },
    output: {
      filename: '[name].js',
      path: path.resolve('./dist'),
    },
  }
5. 웹팩 실행을 위한 NPM 커스텀 명렁어 추가
- /lecture-frontend-dev-env/package.json
"scripts": {
  "build": "./node_modules/.bin/webpack"
},
6. 웹팩으로 빌드하기
- /lecture-frontend-dev-env
❯ npm run build
7. 웹팩으로 빌드한 js파일을, index.html에서 로딩하기
- /Users/gonghojin/Documents/company/edu/lecture-frontend-dev-env/index.html
<!-- TODO: 웹팩으로 빌드한 자바스크립트를 여기에 로딩하세요 -->
<script type="text/javascript" src="dist/main.js"></script>
8. index.html 실행시킨 후 결과 보기
- /Users/gonghojin/Documents/company/edu/lecture-frontend-dev-env/index.html
- VSCOODE에서
open in brower플러그인 설치 후,
index.html 오른쪽 클릭 ->Open In Default Browser
- VSCOODE에서
Lab 2. 웹팩 로더 실습: 1-webpack/2-loader
1. Lab2 브런치로 이동하기
- /lecture-frontend-dev-env
❯ git checkout -f 1-webpack/2-loader❯ npm install
2. CSS와 파일을 로딩하기 위한 패키지 추가
- /lecture-frontend-dev-env
❯ npm install -D css-loader style-loader file-loader
3. “TODO: CSS 파일을 엔트리포인트(app.js)에서 로딩하세요” 해결하기
3.1 css loader & style loader 설정
- /lecture-frontend-dev-env/webpack.config.js
  const path = require('path');

  module.exports = {
    mode: 'development',
    entry: {
      main: './src/app.js'
    },
    output: {
      filename: '[name].js',
      path: path.resolve('./dist'),
    },
    module: {
      rules: [{
        test: /\.css$/,
        use: ['style-loader', 'css-loader'], // style-loader를 앞에 추가한다
      }
      ]
    }
  }
3.2 css 파일 import
- /lecture-frontend-dev-env/src/app.js
  import MainController from "./controllers/MainController.js";
  import "./main.css";
  document.addEventListener("DOMContentLoaded", () => {
    new MainController();
  });
4. “TODO: 파일을 로딩할수 있도록 웹팩 로더 설정을 추가하세요 (file-loader)” 해결하기
4.1 file-loader 설정
const path = require('path');

module.exports = {
  mode: 'development',
  entry: {
    main: './src/app.js'
  },
  output: {
    filename: '[name].js',
    path: path.resolve('./dist'),
  },
  module: {
    rules: [{
      test: /\.css$/,
      use: ['style-loader', 'css-loader'], // style-loader를 앞에 추가한다
    },
    {
      test: /\.(png|jpg)$/, // .png 또는 .jpg 확장자로 마치는 모든 파일
      loader: 'file-loader',
      options: {
        publicPath: './dist/', // prefix를 아웃풋 경로로 지정
        name: '[name].[ext]?[hash]', // 파일명 형식
      }
    }
    ]
  }
}
5. 웹팩으로 빌드하기
- /lecture-frontend-dev-env
❯ npm run build
6. index.html 실행시킨 후 결과 보기
- /Users/gonghojin/Documents/company/edu/lecture-frontend-dev-env/index.html
Lab 3.웹팩 플러그인 실습: 1-webpack/3-plugin
1. Lab3 브런치로 이동하기
- /lecture-frontend-dev-env
❯ git checkout -f 1-webpack/3-plugin❯ npm install
2. “TODO: BannerPlugin: 결과물에 빌드 시간을 출력하세요.” 해결하기
- /lecture-frontend-dev-env/webpack.config.js
  const path = require("path");
  const webpack = require('webpack');

     ...

     /**
     * TODO: 아래 플러그인을 추가해서 번들 결과를 만들어 보세요.
     * 1. BannerPlugin: 결과물에 빌드 시간을 출력하세요.
     * 2. HtmlWebpackPlugin: 동적으로 html 파일을 생성하세요.
     * 3. CleanWebpackPlugin: 빌드 전에 아웃풋 폴더를 깨끗히 정리하세요.
     * 4. MiniCssExtractPlugin: 모듈에서 css 파일을 분리하세요.
     */
    plugins: [
        new webpack.BannerPlugin({
          banner: () => `빌드 날짜: ${new Date().toLocaleString()}`
        })
    ]
  };
2.2 “TODO: BannerPlugin: 결과물에 빌드 시간을 출력하세요.” 결과물 확인하기.
- /lecture-frontend-dev-env
❯ npm run build - /lecture-frontend-dev-env/dist/main.js

3. “TODO: HtmlWebpackPlugin: 동적으로 html 파일을 생성하세요.” 해결하기
- /lecture-frontend-dev-env
❯ npm install -D html-webpack-plugin - /lecture-frontend-dev-env/webpack.config.js
const path = require("path"); const webpack = require('webpack'); const HtmlWebpackPlugin = require('html-webpack-plugin'); ... /** * TODO: 아래 플러그인을 추가해서 번들 결과를 만들어 보세요. * 1. BannerPlugin: 결과물에 빌드 시간을 출력하세요. * 2. HtmlWebpackPlugin: 동적으로 html 파일을 생성하세요. * 3. CleanWebpackPlugin: 빌드 전에 아웃풋 폴더를 깨끗히 정리하세요. * 4. MiniCssExtractPlugin: 모듈에서 css 파일을 분리하세요. */ plugins: [ new webpack.BannerPlugin({ banner: () => `빌드 날짜: ${new Date().toLocaleString()}` }), new HtmlWebpackPlugin({ template: './src/index.html', // 템플릿 경로를 지정 templateParameters: { // 템플리셍 주입할 파라매터 변수 지정 env: process.env.NODE_ENV === 'development' ? '(개발용)' : '', }, }) ] }; - /lecture-frontend-dev-env/src/index.html
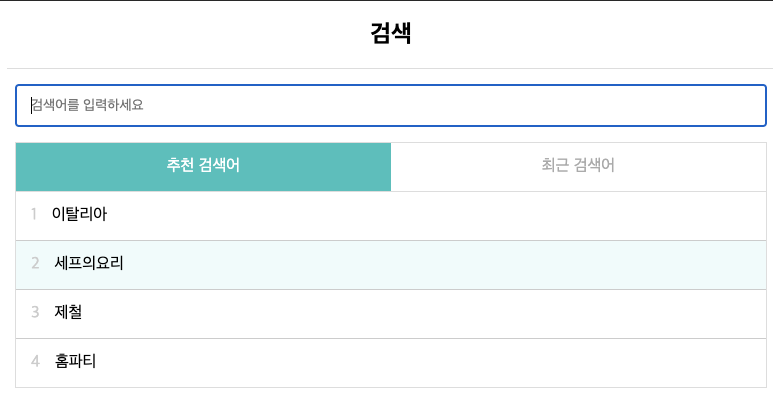
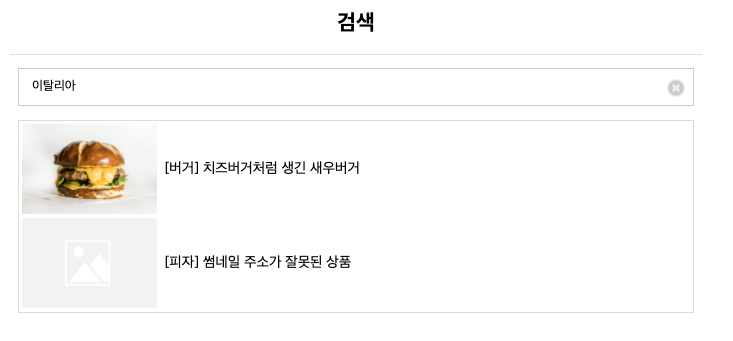
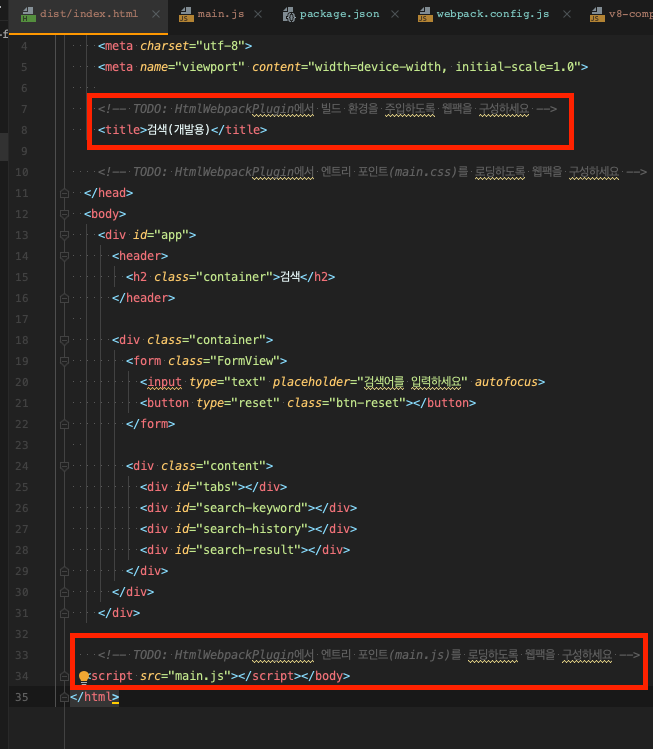
  <!DOCTYPE html>
  <html>
    <head>
      <meta charset="utf-8">
      <meta name="viewport" content="width=device-width, initial-scale=1.0">

      <!-- TODO: HtmlWebpackPlugin에서 빌드 환경을 주입하도록 웹팩을 구성하세요 -->
      <title>검색<%= env %></title>

      <!-- TODO: HtmlWebpackPlugin에서 엔트리 포인트(main.css)를 로딩하도록 웹팩을 구성하세요 -->
    </head>
    <body>
      ...
    </body>
  </html>
3.2 아웃풋 경로의 index.html로 결과 보기
- /lecture-frontend-dev-env
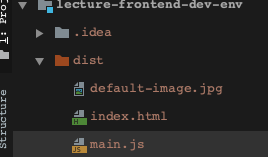
❯ npm run build - /lecture-frontend-dev-env/dist/index.html
4. “TODO: CleanWebpackPlugin: 빌드 전에 아웃풋 폴더를 깨끗히 정리하세요.” 해결하기
- /lecture-frontend-dev-env
❯ npm install -D clean-webpack-plugin - /lecture-frontend-dev-env/webpack.config.js
...
  const { CleanWebpackPlugin } = require('clean-webpack-plugin');

  module.exports = {
    ...

    /**
     * TODO: 아래 플러그인을 추가해서 번들 결과를 만들어 보세요.
     * 1. BannerPlugin: 결과물에 빌드 시간을 출력하세요.
     * 2. HtmlWebpackPlugin: 동적으로 html 파일을 생성하세요.
     * 3. CleanWebpackPlugin: 빌드 전에 아웃풋 폴더를 깨끗히 정리하세요.
     * 4. MiniCssExtractPlugin: 모듈에서 css 파일을 분리하세요.
     */
    plugins: [
      ...,
      new CleanWebpackPlugin(),
    ]
  };
위의 플러그인 설정만하면 완료!!
5. “TODO: MiniCssExtractPlugin: 모듈에서 css 파일을 분리하세요.” 해결하기
- /lecture-frontend-dev-env
❯ npm install -D mini-css-extract-plugin - /lecture-frontend-dev-env/webpack.config.js
...
  const MiniCssExtractPlugin = require('mini-css-extract-plugin');

  module.exports = {
    ...
    module: {
      rules: [
        {
          test: /\.css$/,
          use: [
            process.env.NODE_ENV === 'production'
                ? MiniCssExtractPlugin.loader  // 프로덕션 환경
                : 'style-loader', 'css-loader' // 개발 환경
          ],
        },

        ...
      ]
    },
    /**
     * TODO: 아래 플러그인을 추가해서 번들 결과를 만들어 보세요.
     * 1. BannerPlugin: 결과물에 빌드 시간을 출력하세요.
     * 2. HtmlWebpackPlugin: 동적으로 html 파일을 생성하세요.
     * 3. CleanWebpackPlugin: 빌드 전에 아웃풋 폴더를 깨끗히 정리하세요.
     * 4. MiniCssExtractPlugin: 모듈에서 css 파일을 분리하세요.
     */
    plugins: [
      ...
      new CleanWebpackPlugin(),
      ...(
          process.env.NODE_ENV === 'production'
              ? [ new MiniCssExtractPlugin({filename: `[name].css`}) ] // 프로덕션 환경에서만 추가
              : []
      ),
    ]
  };
5.2 결과 보기
- /lecture-frontend-dev-env
❯ npm run build - /lecture-frontend-dev-env/package.json
- development 옵션
 "scripts": {
  "build": "cross-env NODE_ENV=development webpack --progress"
},
- development 옵션
- /lecture-frontend-dev-env/package.json
- production 옵션
 "scripts": {
  "build": "cross-env NODE_ENV=production webpack --progress"
},
- production 옵션
- 최종 webpack.config.js
  const path = require("path");const webpack = require('webpack');
  const HtmlWebpackPlugin = require('html-webpack-plugin');
  const { CleanWebpackPlugin } = require('clean-webpack-plugin');
  const MiniCssExtractPlugin = require('mini-css-extract-plugin');

  module.exports = {
    mode: "development",
    entry: {
      main: "./src/app.js"
    },
    output: {
      filename: "[name].js",
      path: path.resolve("./dist")
    },
    module: {
      rules: [
        {
          test: /\.css$/,
          use: [
            process.env.NODE_ENV === 'production'
                ? MiniCssExtractPlugin.loader  // 프로덕션 환경
                : 'style-loader', 'css-loader' // 개발 환경
          ],
        },
        {
          test: /\.(png|jpg|svg|gif)$/,
          loader: "url-loader",
          options: {
            name: "[name].[ext]?[hash]",
            limit: 10000 // 10Kb
          }
        }
      ]
    },
    /**
     * TODO: 아래 플러그인을 추가해서 번들 결과를 만들어 보세요.
     * 1. BannerPlugin: 결과물에 빌드 시간을 출력하세요.
     * 2. HtmlWebpackPlugin: 동적으로 html 파일을 생성하세요.
     * 3. CleanWebpackPlugin: 빌드 전에 아웃풋 폴더를 깨끗히 정리하세요.
     * 4. MiniCssExtractPlugin: 모듈에서 css 파일을 분리하세요.
     */
    plugins: [
        new webpack.BannerPlugin({
          banner: () => `빌드 날짜: ${new Date().toLocaleString()}`
        }),
        new HtmlWebpackPlugin({
        template: './src/index.html', // 템플릿 경로를 지정
        templateParameters: { // 템플리셍 주입할 파라매터 변수 지정
          env: process.env.NODE_ENV === 'development' ? '(개발용)' : '',
        },
      }),
      new CleanWebpackPlugin(),
      ...(
          process.env.NODE_ENV === 'production'
              ? [ new MiniCssExtractPlugin({filename: `[name].css`}) ] // 프로덕션 환경에서만 추가
              : []
      ),
    ]
  };
Lab 4. Eslint 실습: 3-lint/1-eslint
–
1. Lab4 브런치로 이동하기
- /lecture-frontend-dev-env
❯ git checkout -f 3-lint/1-eslint❯ npm install
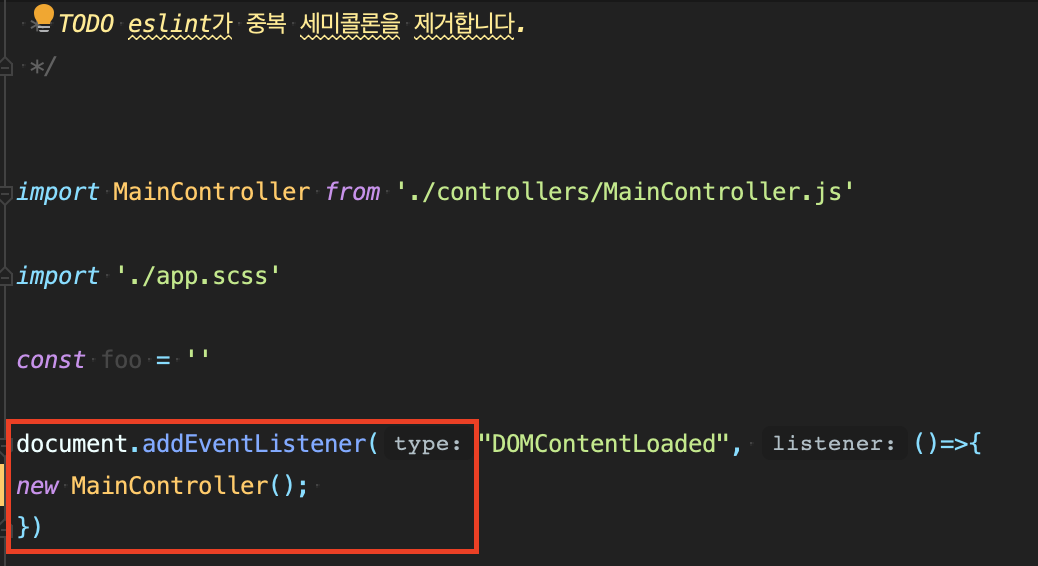
2. “TODO eslint가 중복 세미콜론을 제거합니다.” 해결하기
- /lecture-frontend-dev-env
❯ npm i -D eslint - /lecture-frontend-dev-env/.eslintrc.js
- eslint 환경 설정
// TODO: eslint를 구성해 보세요.
module.exports = {
  "parserOptions": {
  "ecmaVersion": 2018,
  "sourceType": "module"
  },
  "rules": {
  "no-extra-semi": "error", // 연속 세미콜론 제거
  }
};
- eslint 환경 설정
- /lecture-frontend-dev-env
- 규칙에 어긋나는 코드를 찾고 수정
❯ npx eslint ./src/app.js --fix
- 규칙에 어긋나는 코드를 찾고 수정
3. 결과 보기
- /lecture-frontend-dev-env/src/app.js
- 중복 세미콜론 제거 완료
Lab 5. Prettier 실습: 3-lint/2-prettier
–
1. Lab5 브런치로 이동하기
- /lecture-frontend-dev-env
❯ git checkout -f 3-lint/2-prettier❯ npm install
2. eslintrc에 prettier 규칙 추가하기
- /lecture-frontend-dev-env
❯ npm i -D prettier ❯ npm i -D eslint-plugin-prettier - /lecture-frontend-dev-env/.eslintrc.js
module.exports = {

  ...
  plugins: [
      "prettier"
  ],
  // TODO: 프리티어 설정을 추가하세요.
  "rules": {
      "prettier/prettier": "error",
  }
};
3. 결과 보기
- /lecture-frontend-dev-env
- 규칙에 어긋나는 코드를 찾고 수정
❯ npx eslint ./src/app.js --fix
- 규칙에 어긋나는 코드를 찾고 수정
- /lecture-frontend-dev-env/src/app.js
- 전반적으로 소스가 다듬어짐(세미콜론, 띄어쓰기 등)
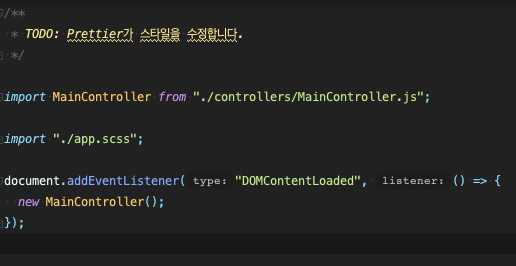
- 전반적으로 소스가 다듬어짐(세미콜론, 띄어쓰기 등)
Lab 6. Prettier 실습: 4-webpack/1-dev-server
–
1. Lab6 브런치로 이동하기
- /lecture-frontend-dev-env
❯ git checkout -f 4-webpack/1-dev-server❯ npm install
2. express로 구현된 api 서버 실행시키기
- /lecture-frontend-dev-env/server
❯ npm install
❯ npm start
3. 실행시킨 api 서버 webpack.config.js에서 binding시키기
- /lecture-frontend-dev-env
❯ npm install ❯ npm i -D webpack-dev-server - /lecture-frontend-dev-env/webpack.config.js
devServer: { overlay: true, stats: "errors-only", // TODO: 여기에 api 서버 프록싱 설정을 추가하세요(http://localhost:8081) proxy: { "/api": "http://localhost:8081" // 프록시 } }, - /lecture-frontend-dev-env/
❯ npm start
Subscribe via RSS